Switching to solar is a big decision, but knowing the solar panel installation process can help you be prepared. This guide breaks down each step of a typical installation, from the initial assessment to flipping the switch. I’ll share some insider tips and discuss common pitfalls so you can approach your solar journey with confidence.
Before starting the solar panel installation process, review your energy bill. This shows how much you’ll save by producing your own power with solar panels. The higher your bill, the more you can save with residential solar.
Consider a free online energy audit. Experts can evaluate your home’s energy efficiency and suggest improvements. Installing solar panels, even across your entire roof if permitted, can significantly reduce your reliance on current electricity.
Not every home is ideal for solar. Roof angle, shading, and the direction your panels face matter.
South-facing roofs with a 15 to 40-degree angle maximize sunlight exposure. However, a proper solar panel installation process can make solar viable even for less-than-perfect homes. A solar installer can help you determine the best solar options for your home, considering how your panels face.
Also, check your roof’s age and condition. Ideally, solar panels should be installed on a sound roof to avoid additional repairs during installation.
Unforeseen roof repairs can impact the overall budget. Discuss this with solar companies during the site visit and get quotes for any necessary work.
Solar panel installations can be expensive, but prices have dropped significantly. Increased residential and commercial installations contribute to these lower costs.
Thoroughly research all financial incentives to maximize your savings. Take full advantage of the solar tax credit, along with any federal tax incentives or solar renewable energy certificates (SRECs), to optimize the payback period of your investment.
Choosing a qualified solar installer is crucial. Compare quotes from different solar companies and check references.
Don’t just focus on the lowest installation costs. Experience, reputation, and customer satisfaction matter. Look for companies offering good performance warranties on their products. They can also inform you whether the orientation of your roof, where panels face and the type of panel manufacturers you’re interested in working with impact your solar installation’s performance and whether you qualify for a solar loan or need other financing options.
Consider paying cash, financing with a solar loan, or leasing your system.
Loans make solar accessible to more homeowners. Leases offer lower upfront costs, but you won’t own the panels.
Evaluate your financial situation and the different financing options, considering whether you would prefer to own your solar panel system with the support of solar loans or if you prefer to take advantage of the reduced installation costs by leasing.
Once you’ve signed a contract, the solar panel installation process begins.
Qualified technicians will handle the physical installation. Here are the main steps:
Permitting delays can occur, impacting your overall project schedule.
Unexpected structural issues might add time and expense. Discuss any potential problems with your installer to avoid surprises during the permitting process.
Maintain your solar panels by keeping them free of debris. Regularly prune overhanging tree branches to prevent shading and ensure optimal energy production.
Consider professional cleaning for optimal performance. This can improve the amount of usable electricity you produce.
The solar panel installation process involves site assessment, system design, permitting, installation, inspection, and grid connection. Before installation, you will want to compare different solar panel manufacturers to determine what type of panels best suit your energy needs. Additionally, prior to engaging in formal proposals from solar installers, homeowners typically complete a comparison analysis between different solar power providers.
This refers to an estimated value of selling excess solar electricity back to the grid through net metering. Homeowners typically receive around 20% less than the retail rate for the electricity they feed back into the grid.
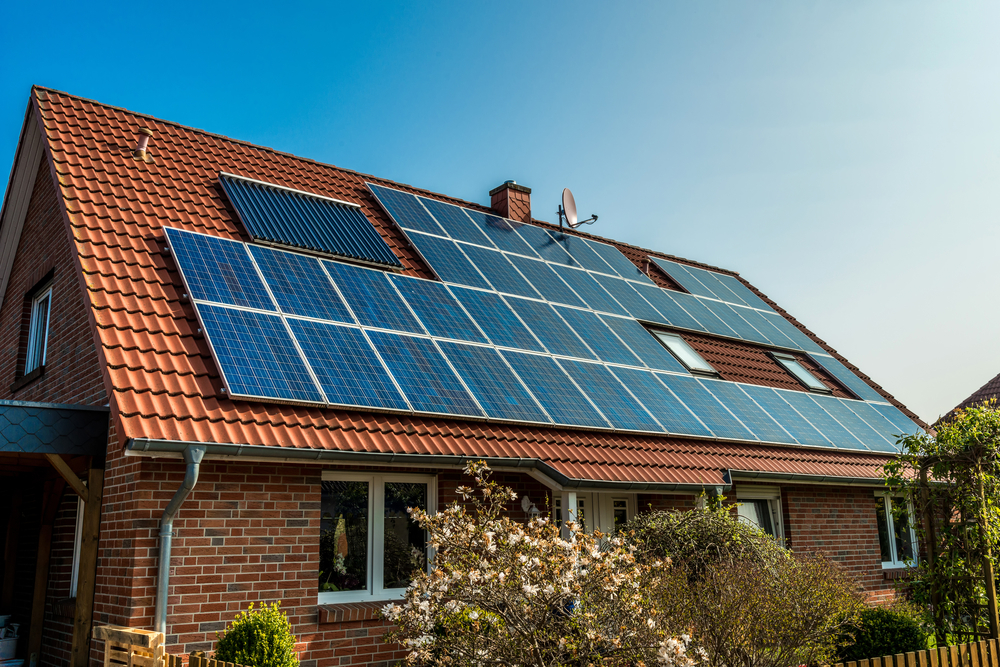
Installers mount racking hardware, then attach panels and wiring, including the inverter. They will also install conduit and perform any needed trenching.
Costs range from $20,000 to $40,000, depending on system size, panel type, and location. State and local incentives can significantly reduce the upfront investment. How much power a solar system generates depends in part on the direction they face and how many panels can be installed within a particular roof’s footprint and whether or not your electricity generation can meet state-mandated standards for selling solar renewable energy credits.
Going solar involves a detailed solar panel installation process. By understanding each step, from initial site visits and discussions around whether to buy solar or not and researching different providers and installers, all the way to connection and activation, consumers can make informed decisions and enjoy the benefits of clean, renewable energy. Having knowledge about solar energy, the available financial incentives, including understanding about what the federal solar investment tax credit amounts to each year, the overall permitting process including how local permitting impacts installation timelines, and financing options such as solar loans, allows homeowners to successfully install panels to produce energy and help homeowners become less reliant on the grid. So as homeowners embarking on going solar, taking full advantage of local installers and federal programs offered to residents allows home owners to potentially benefit even more greatly.
Address: 231 W Rutherford Blvd
Murfreesboro, TN 37130
Phone: 615-237-1737
Business Hours:
Mon - Fri: 7:30 AM - 4:30 PM
Sat & Sun: Closed